By that time all the ones on ebay had gone, bugga. So I've put a couple more things on ebay to raise a few more quid while I wait for another one to come up.
In the meantime the drawings from George Bradford in Canada arrived. Fantastic! Along with a load of images and reference material I have enough to start work on 5 vehicles.
I chose to begin with an M114 APC since I had tried to build one 20 years ago from an article in Millitary Modeller, but was defeated by the wheels and tracks. I have more time, a little more experience and some better tools now.
The M114 is easy and very difficult all at once. The main chassis is all straight edges and no compound curves or difficult angles. However, the wheels and tracks seem to e unique to this vehicle and therefore very fiddly and tedious. We'll see how I get on over the coming months eh?

Here the main side panels have been cut from Plasticard using the 'score and snap' method, George's excellent drawing can be seen on the left. His is for an M114A1, but I will be building the straight M114. The differences are minor.
As an aside, Blogspot's image uploader needs revision, it won't put images at the insertion point! It keeps putting them at the top of the blog which is a pain, unless I'm doing something stupid?

I've added the base of the chassis and the front and rear panels. A couple of bracing pieces have been included to keep everything square.

The simple main body of the chassis completed. I decided not to cut out the hatches and have to build an interior. Mostly because I didn't want the hassle knowing what was to come with the wheels and tracks.

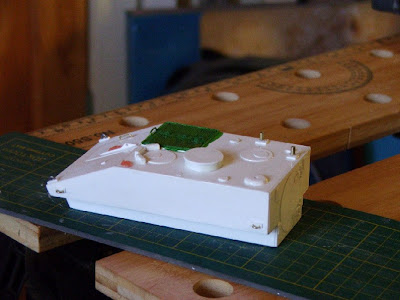
I've started to add surface details here, the hatch covers, fuel filler caps, lifting hooks and vent grills. All from bits of plasticard or cast resin. A first template for the wheels can be seen on the right but I don't know if I will use it or not yet.

Another view of the first detail stage. The 'Mayflower' in the background is awaiting rigging and sails to complete. Another really fiddly job that I'm putting off for a bit.

Finally a couple of images of the current state of play. There are a few more details to add to the main chassis before it's complete and I start on the wheels and tracks.

1 comment:
Do you have interior pictures of this if so can u email them to me at rpride@itsi.com
Post a Comment